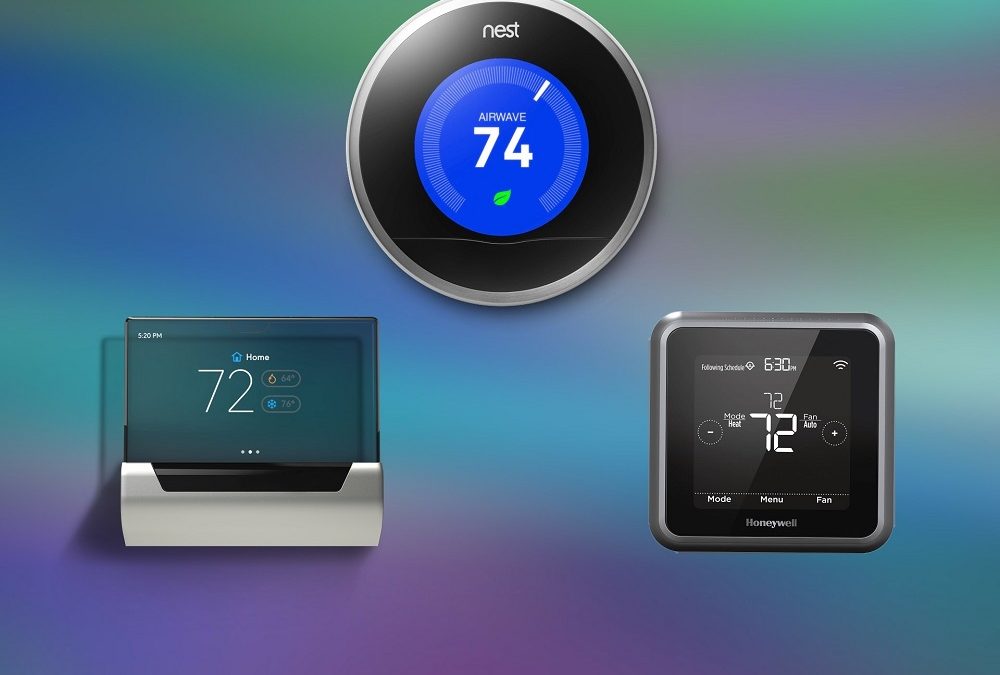
Imagine a world where your home is always at the perfect temperature, saving you energy and money. With a Nest Thermostat, this dream becomes a reality! In this guide, let Uncle Johnny’s Heating and Air walk you through a step-by-step process for Nest Thermostat installation and experience the comfort and efficiency it brings.
Key Takeaways
- Get ready to upgrade your thermostat and enjoy the peak performance of a Nest Thermostat with excitement!
- Securely mount it, connect it to Wi-Fi & Nest App, and power on for an energy efficient home.
- Test out its amazing features, control temperature remotely and schedule settings from anywhere!
Preparing for Nest Thermostat Installation
It’s important to prepare adequately before beginning to install a thermostat. Proper preparation ensures a smooth and successful thermostat installation, setting you on the path to energy savings and optimal comfort.
With anticipation, let’s assemble our tools, power down the HVAC system, and evaluate our existing thermostat!
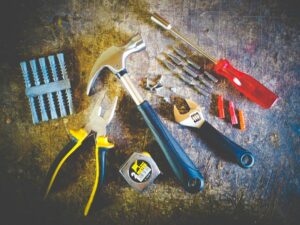
Gather Tools and Materials
To kick off your Nest Thermostat installation journey, gather these essential tools and materials: a screwdriver, a drill for creating screw holes, and wire labels. With these tools in hand, you’re all set to tackle the installation like a pro!
Keep in mind, meticulous preparation paves the way to success and you may need to invest time in it.
Turn Off HVAC System
Safety first! Before starting the installation process, make sure to turn off your entire HVAC system at the breaker panel. This important move safeguards against any electrical accidents.
After all, we want this exciting journey to be a pleasant and safe one, right?
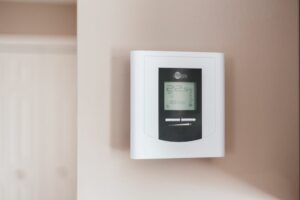
Assess Your Current Thermostat
Before installing your shiny new Nest Thermostat, take a close look at your current thermostat. This step helps determine if it’s compatible with the Nest Thermostat and if any additional wiring is needed.
Trust us, you don’t want any surprises during the installation process!
Choosing the Ideal Location for Your Nest Thermostat
Once you’re ready, the next step is to identify the optimal location for your Nest Thermostat. The ideal location ensures accurate temperature readings and optimal performance.
We’ll explore how to select the most suitable interior wall placement and steer clear of any obstructions that might impede your thermostat’s performance.
Interior Wall Placement
To achieve maximum accuracy and comfort, install your Nest Thermostat on an interior wall in a common space, away from anything that could affect its temperature readings. A height of 4-6 feet above the floor is just right for accurate temperature readings and easy access.
Steer clear of direct sunlight and drafts which can distort the thermostat’s readings and impact its function.
Avoiding Obstructions
A location free from obstructions such as furniture, vents, or direct sunlight is essential for your Nest Thermostat’s performance. Obstructions can interfere with the thermostat’s ability to accurately measure the temperature, leading to inefficient heating or cooling.
Therefore, when selecting an ideal spot for your smart thermostat, these aspects should be given due consideration.
Removing the Existing Thermostat
Out with the old, in with the new! Before installing your Nest Thermostat, you’ll need to remove the old existing thermostat. This process involves disconnecting wires and detaching the old thermostat from the wall.
Fear not, we’ll guide you through all the necessary procedures!
Disconnecting Wires
When disconnecting thermostat wires from your old thermostat, make sure to label each wire based on where it’s connected to the thermostat terminal. Proper thermostat wiring is crucial for a smooth installation process, so forget about wire colors and focus on labeling. Additionally, using jumper wires can help keep everything organized during the process.
Once you disconnect the wires, including the c wire, and label them, you have moved one step closer to the gratification of your new Nest Thermostat. Now, proceed to step 3 of the installation process.
Detaching the Old Thermostat from the Wall
To remove your old thermostat, unscrew the mounting case from the wall and gently pull the thermostat away.
Inspect the area for any damage that might need repairs before installing the new thermostat. A clean and damage-free wall ensures a flawless installation for your Nest Thermostat.
Installing the Nest Thermostat
With the old thermostat out of the way, it’s time for the main event: installing your Nest Thermostat! This process involves attaching the base, wiring the thermostat, and mounting it to the wall.
Let’s embark on this journey and introduce the comfort and efficiency of a Nest Thermostat to your home!
Attaching the Nest Thermostat Base
First, secure the Nest Thermostat base to the wall using the self-tapping screws included with the thermostat. Ensure the base is level and properly aligned using the built-in bubble level on the base.
A perfectly leveled new programmable thermostat, which is a crucial part of your heating and cooling system, including heat pumps, makes for an aesthetically pleasing and functional addition to your home with an optional trim plate, enhancing the overall appearance of the trim plate.
Wiring the Nest Thermostat
Once the base is firmly fixed, link the labeled wires to the respective terminals on the Nest Thermostat base. Following the wiring diagram provided in the installation guide or the Nest App ensures a correct and safe connection.
Correct wiring is critical to ensure the peak performance of your new smart thermostat, and some models may require a c wire.
Mounting the Nest Thermostat
Lastly, mount the Nest Thermostat onto the base, ensuring it clicks into place and sits flush against the wall. Double-check that there are no gaps between the thermostat and the wall, and use a bubble level if necessary.
With the thermostat securely mounted, you’re all set to enjoy the benefits of your new Nest Thermostat!
Setting Up and Connecting Your Nest Thermostat
With your Nest Thermostat now installed, the next steps are to turn it on, examine its functionality, and establish a connection with Wi-Fi and the Nest App. This process ensures your thermostat is set up for remote control and scheduling capabilities, putting the power of temperature control right at your fingertips.
Powering On and Testing
Turn the power back on at the breaker panel and test your Nest Thermostat to ensure it’s functioning correctly. Follow the on-screen instructions to check for any issues or errors.
A successful test means your Nest Thermostat is ready to make your home more comfortable and energy-efficient.
Connecting to Wi-Fi and Nest App
With your Nest Thermostat powered on and tested, connect it to your Wi-Fi network and set it up with the Nest App. This connection allows for remote control and scheduling capabilities, letting you adjust your home’s temperature from anywhere and at any time.
Leverage the capability of smart technology and savor the convenience of smart thermostats with a Wi-Fi thermostat.
Summary
Congratulations! You have successfully installed and set up your Nest Thermostat with the help of Uncle Johnny’s Heating and Air. By following this step-by-step guide, you’ve taken control of your home’s comfort and energy efficiency. Embrace the power of smart technology and enjoy the benefits of your new Nest Thermostat for years to come.
Frequently Asked Questions
Do you need an electrician to install a Nest thermostat?
Yes, you should hire a professional like at our team here at Uncle Johnnys Heating and Air Inc., to install your Nest thermostat if you don’t have a C-wire. Installing it yourself might not be the best option as versions that don’t require a C-wire can malfunction frequently or stop working altogether.
Does Nest thermostat need C wire?
Nest thermostats don’t require a C wire to work, but some HVAC systems may need one for consistent power. The Nest Power Connector is an affordable alternative to a C wire, and avoids the costs of hiring an electrician.
How much does it cost to install a Nest thermostat?
It typically costs around $125 to install a Nest thermostat, making it a great investment for smart home automation.
Can I install a thermostat myself?
Installing a smart thermostat isn’t too difficult if you already know how to remove and disconnect the old one – and you’ll have even more advanced features with digital thermostats. So, yes, you can definitely install a thermostat yourself!
Why is it important to turn off the HVAC system before installing a Nest Thermostat?
It’s important to turn off the HVAC system before installing a Nest Thermostat to keep you safe from any potential electrical issues.